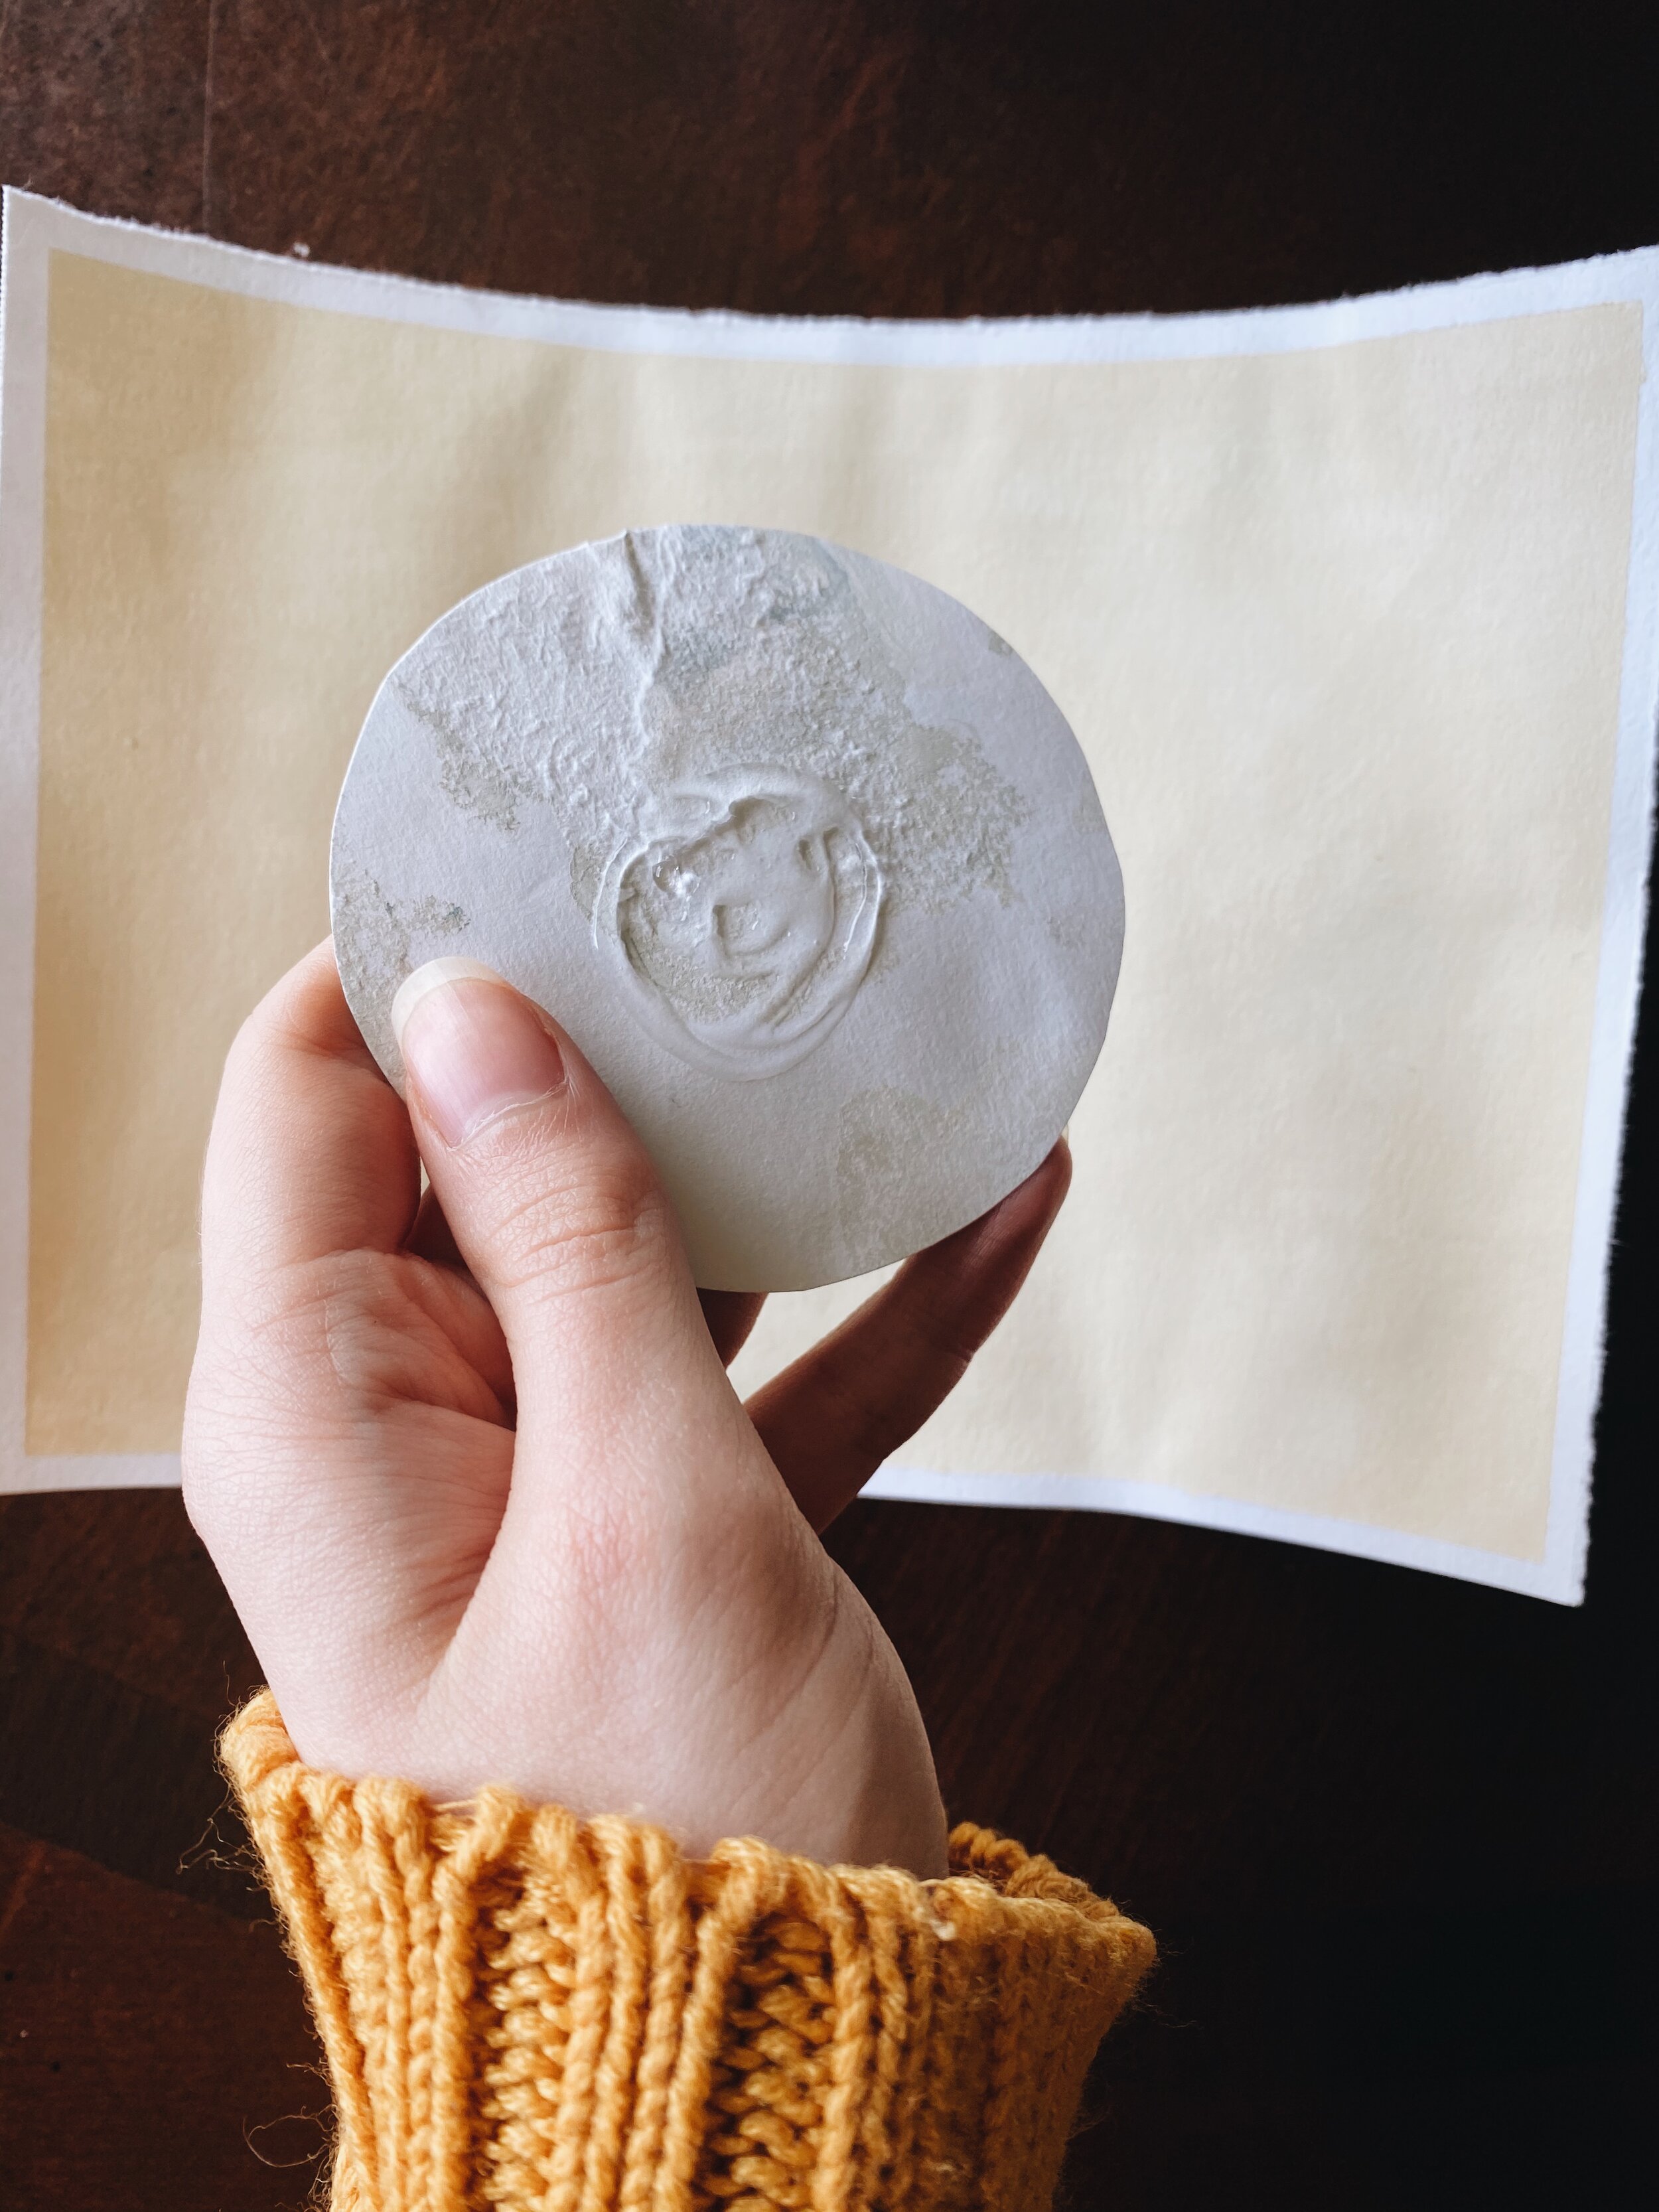
Hello everyone! Happy Earth Day to you all, wishing you cheerful sunbeams and lively talks with the trees. I always look forward to this day, it really inspires me to dig into that connection with nature and paint it all out.
In the spirit of this, I wanted to show you how to make these little floral moon prints! It’s a very fun, spontaneous project and is very easy to put your own personal spin on it. If you’re in a household with kids, it’s a nice thing to do together (it involves some paint splattering and sticky glue fingers - always a plus) or on your own in a moment of quiet artistic expression.
First, here’s a look at what I’ve used for this project:
Some fairly thick paper (I’ve used Canson Mix Media)
Paint brushes - I mostly use Artists’ Loft, and recommend a large fluffy one as well as a medium round brush
Paint - you can use gouache, watercolor, or both together. I’m using both.
Water
Scissors
A pencil for tracing the moon shape - I’m using a #2 mechanical pencil
Something round to trace the moon’s outline to cut out
Pressed flowers (optional)
Salt (also optional)
Glue (I’m using plain old clear Elmer’s glue - not the best but it gets the job done with a bit of work)
Step 1: First, you’ll need some paper to use as the print’s background. I just used my Canson mixed media and trimmed it down a bit to either 5x7” or 8x6”. Now, you can either leave the paper white or you can paint it - I painted mine with beige gouache, since it warms it up a bit and gives the paper a bit of an aged effect. You can even use tea or coffee to stain it, if you’d like!
Step 2: Painting the moon (or just a planet!). I began with a smallish strip of the paper about 4” wide. It doesn’t have to be perfect, you’ll be cutting it into a circle later - if you paint a long strip, you can cut multiple moons out for more prints!
Here’s a video demonstrating the painting technique as a bit of visual aid - nothing fancy, but I hope it’s helpful. Here’s an explanation of the process:
I begin by using a large fluffy brush, wet the bristles and dip into a bit of grey gouache, coating the paper in quick circular motions (the paper began to warp, so I put my salt dish at the top to keep it flat)
Using my smaller round brush, I’m painting random splotchy shapes in watercolor (I mixed blue and black). Think of painting fluffy clouds! You can use circular motions, dabbing, really anything goes. You’ll want to make sure the base layer paint is still wet, or mostly wet.
Keep building up the layers, using darker colors or maybe through in some bright tones. You can jab or flick your brush at the paper to create some interesting spatters (maybe stand back a bit or wear an apron, it can get a bit hazardous). At this point, it’s okay if parts of your paper has already dried, the spatters just won’t bleed into the background as much. Embrace the spontaneity!
After adding in the dark colors, I often like to go with with a light color (usually beige or a pastel shade) and dab a bit of it in random spots.
Optionally, while your paint is still wet, you can sprinkle a tiny bit of salt in some areas to create an interesting effects. I added a little too much here for my taste, but there really is no wrong way to do it.
While you’re waiting for the paint to dry, it’s a good time to hunt around the room for something circular to use for tracing the moon outline (you can also freehand it, of course). After the paint’s dry, use your pencil to trace the shape and cut along the inside of the line with scissors.
Go and fetch the background paper that you trimmed at the beginning, as well as pressed flowers/leaves to decorate. If you don’t have any pressed plants, that completely okay - you can get creative and experiment with stickers, painted flowers, paper stars, anything you’d like so long as it’s relatively flat and can be glued down.
Put some glue on the back center of the moon (keep the edges unglued so you can layer flowers under the edges later) and stick it down onto the background. You can put something on top of it to keep it pressed down while it dries (I just set the glue bottle on top).
Find the pressed flowers you’d like to use - before you glue them down you can lay them out, rearrange them a bit to your liking (if you’re working with kids it might be best to use some less-delicate flowers if you can, as it gets a bit fiddly to glue down), then secure them with small amounts of glue.
Some flowers are a bit tricky to pick up without tearing the petals, so I just wet my forefinger and pick them up that way. If you’re having trouble gluing the more delicate ones, you can use a toothpick to pick up some glue to brush it underneath the flower.
Alternatively, you can use leaves, stickers, cutouts from magazines….or, just leave it bare for a minimalist look.
Leave it to dry completely, and then you’re finished! For some prints, you might be able to put a heavy book on top to flatten it out a bit, but if you’re putting it in a frame it’ll lay flat without issue.
Thank you so much for reading, if you use this tutorial I hope you have fun! Feel free to tag me on social media (@taryndraws), I’d love to see what you create. Lots of love to you all, and have a wonderful day!


