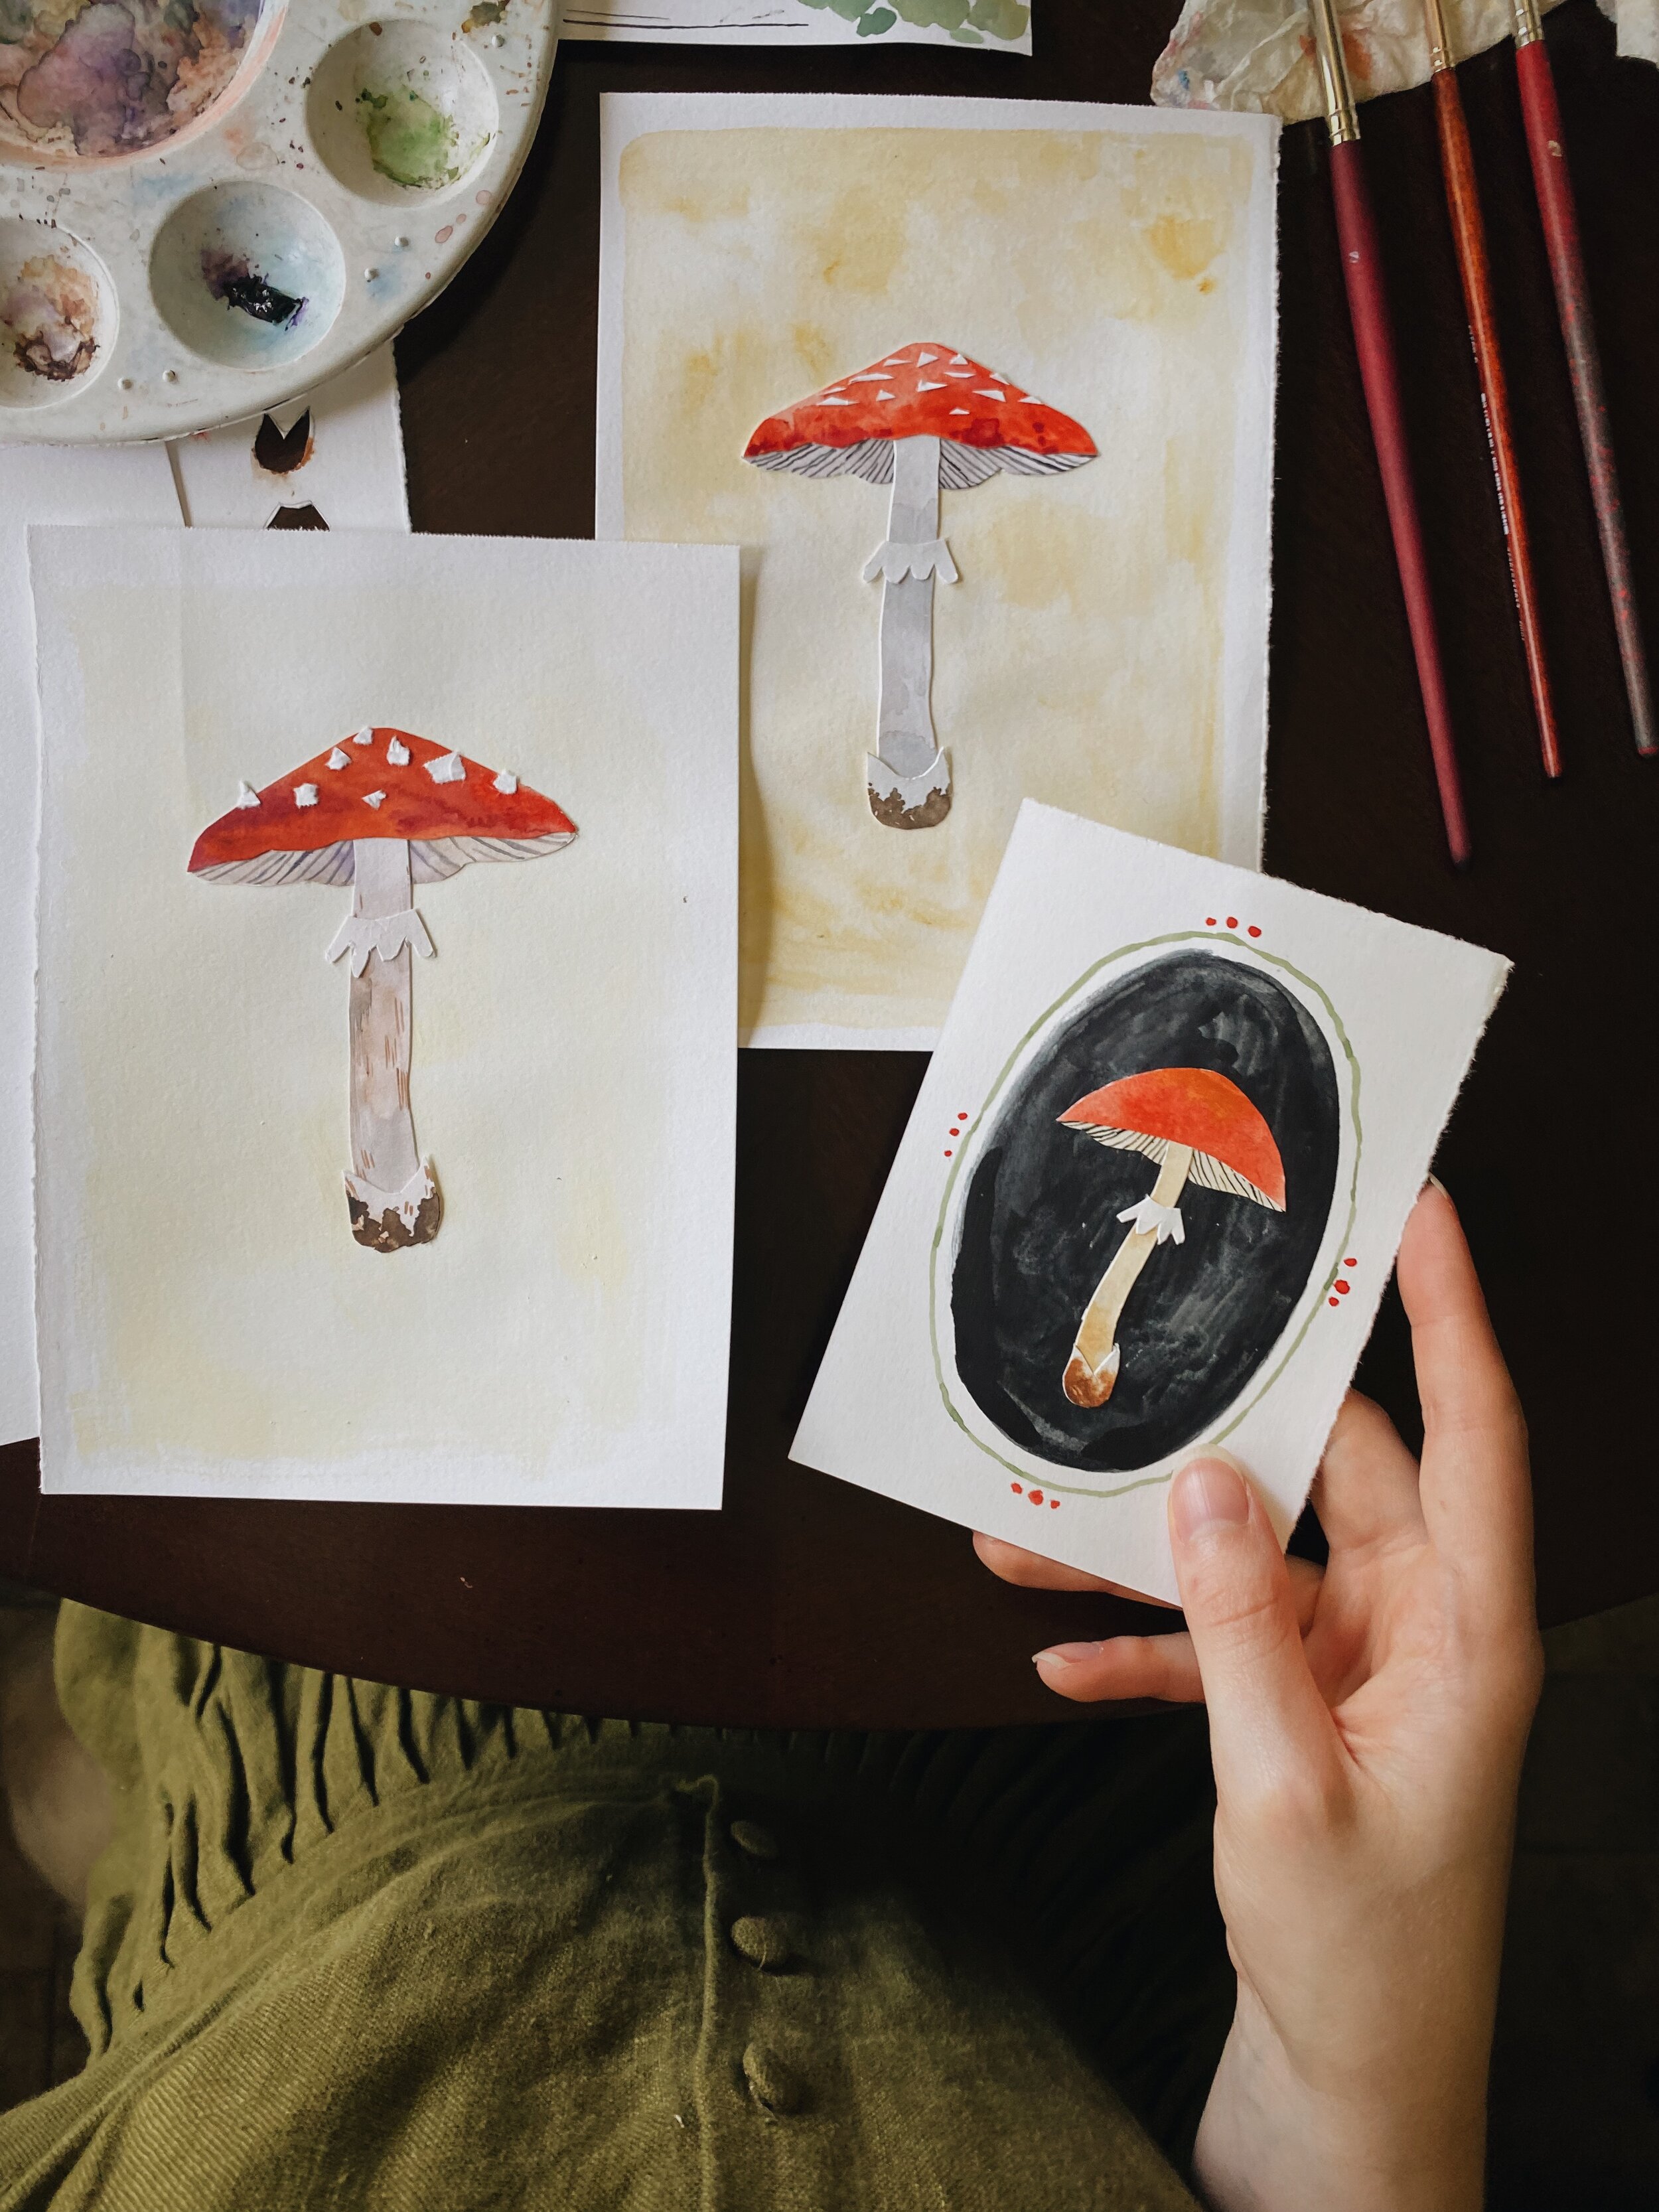
Hello, friends! I know it’s been a while, but recently I decided I wanted to dust off this blog section of my website and try to start posting on a somewhat regular basis, maybe establishing a monthly newsletter for starters and eventually branching out into more fun stuff (a special subscription club, maybe??), depending on how it goes.
That said, moving on to the tutorial!
Mushroom Collage DIY
This craft project is fairly simple and is mostly kid-friendly, but it does call for either scissors or an xacto knife so definitely exercise caution if you’re working with wee ones.
What you’ll need:
Paper - mixed media or watercolor paper might be best if you plan on painting the pieces yourself. Alternatively, you can simply use colored cardstock or scrap materials.
Pencil, to lightly draw the outline
Paint + brushes, watercolor and/or gouache works well
Scissors and/or Xacto knife
Glue
tea + snacks (optional but recommended)
Step one
Trace the mushroom shapes - you can either freehand this part or you can print+trace this template I’ve made (the template is made to fit a 5x7” piece like the one I made. If you don’t have a lightbox for tracing, you can tape the template to a window and trace it onto your watercolor/mixed media paper from there!).
Step two
Paint your background paper! I’m using a 5x8 piece of Canson mixed media paper and painting it with an ochre shade of watercolor. You can definitely skip this step if you want to leave the background white. Set it aside to dry, and continue on to step three!
Step three
Painting the mushroom, AKA the fun part! Go ahead to start painting your mushroom any colors you please! I’m making a good ol’ amanita muscaria (my favorite fungi! What’s yours?) and will be adding the “spots” later. Don’t worry about staying in the lines, so long as you can still see the cutline through the paint. If you’re using dark colors or a heavier paint, you might want to keep within the outline so you know where to cut it out.
If you’re adding gills to the underside part of the cap, you can add those details in with a fine brush or a micron pen (it’ll feather if the paint isn’t completely dry, so beware!).
For the stem, I made sure that it was a slightly lighter shade than the underside of the cap, with darker shading at the bottom and towards the upper-middle. It adds a bit of dimension as well as helps the pieces we’ll be adding next pop a bit more.
Finally, I painted the ring and base a slightly lighter shade than the stem and added some lovely dirt (which is entirely optional, depending on how you want your fungi to look).
Step four
I cut out the pieces using an Xacto knife, but this can be done with small scissors as well.
Step five
Glue and place the underside of the cap first, then the stem, the cap, and finally the ring and base.
Additionally if you’d like to add extra details, go ahead and have fun with it! I used small triangular bits of paper for the spots (this part can be quite fiddly, so it’s definitely not necessary).
Aaaaand you’re finished! I hope you’ve had fun - if you use this tutorial and want to share your creation, feel free to comment or tag me on Instagram (@taryndraws)! I’d love to know if you enjoyed it and see your lovely creation.
I hope you all have a wonderful day/evening!
Love, Taryn


